Dicom Documents
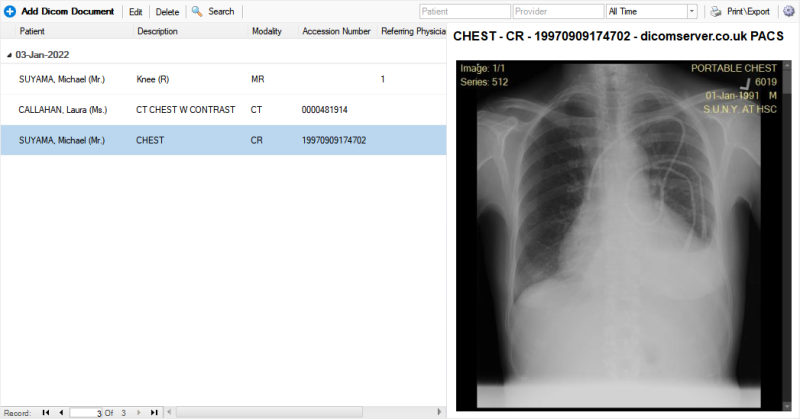
Dicom is available under the Images -> Dicom

How to use the Dicom Documents viewer
1. The viewer can be used to view the records of all patients with All Patients pressed, or
2. View the records of a single patient. Click Search Patient to filter by patient
3. Additionally you can filter by a date range with 
4. Or do searches by pressing the ![]() button and typing your search text
button and typing your search text
Add Dicom Document
1. Press Add Dicom Document
2. Select the Patient you want the Dicom Document to link to
3. Select the Dicom Provider
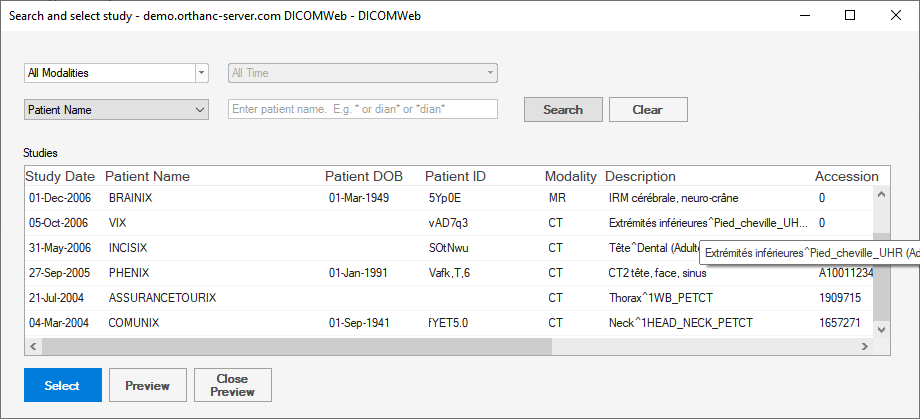
4. Search and Select the Dicom study, instance or report:

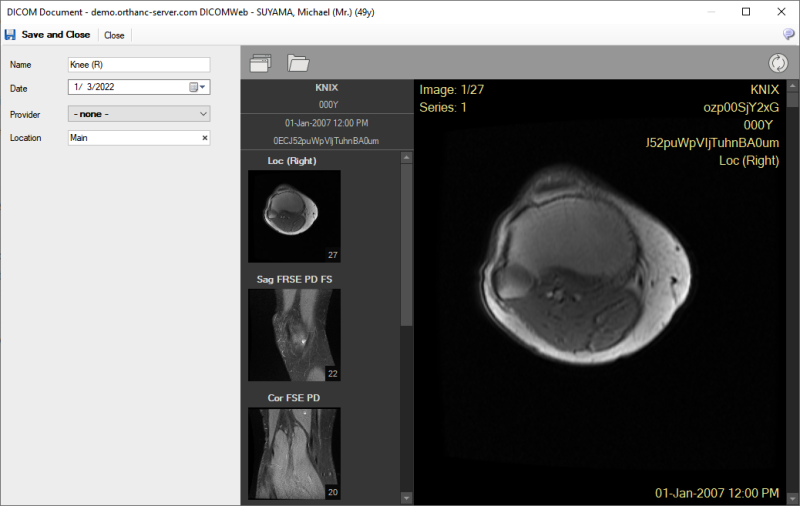
5. In the opened Dicom Document Editor, fill out any needed fields and press Save and Close
|
No actual Dicom instances are stored in the patient's records and the studies will be downloaded from the server at every access. |
Viewing a saved study
1. Select a Patient Document item and click the Edit button on the toolbar.

In this editor you can view all the series and instances of the Dicom study as follows:
- Zoom In - mouse left click
- Zoom Out - mouse right click
- Next Instance - mouse scroll wheel
For more in depth analysis of the study, you can open it in the Dicom viewer of your choice by pressing ![]()
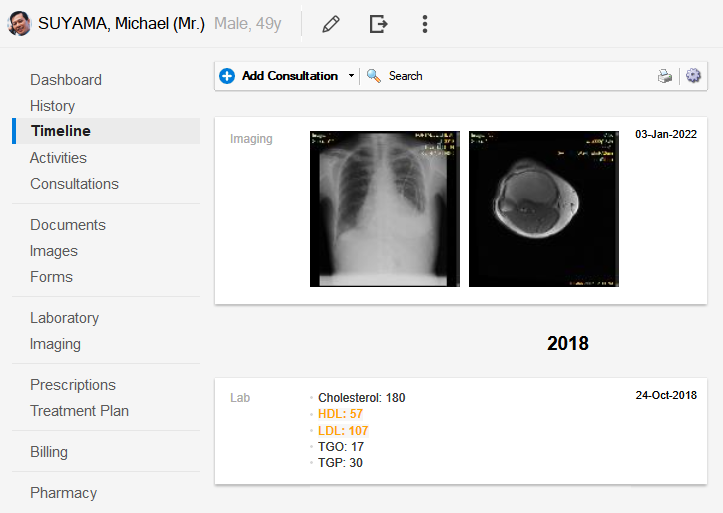
Chart Timeline Integration
The Patient Timeline will display clickable thumbnails of the DICOM studies
