Patient Biometrics
| This feature is available only in the advanced versions of the program |
For a list of supported devices, kindly check Supported Devices
Before starting using the module, the device drivers should be installed on the computer where the biometric scanners will be used.
Register Biometric Values \ Fingerprints
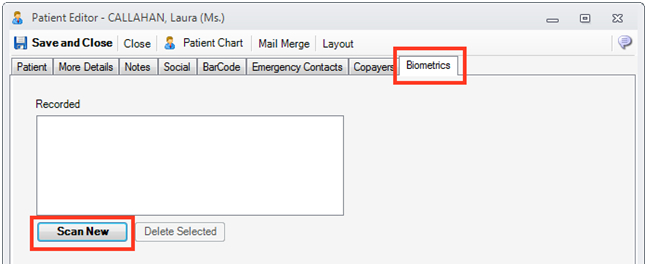
1. In the Patient Registration form, open the Biometrics tab and press Scan New as bellow:
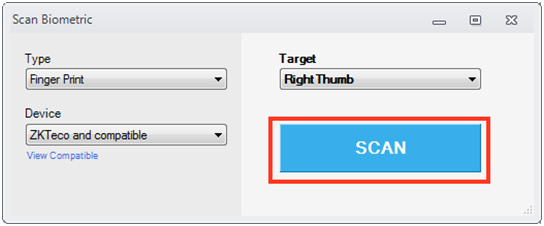
2. In the opened windows choose the target finger and press the SCAN button:
In the next window apply finger on the scanner to capture the finger print. After capture, the fingerprint will be added to the recorded list, as bellow:
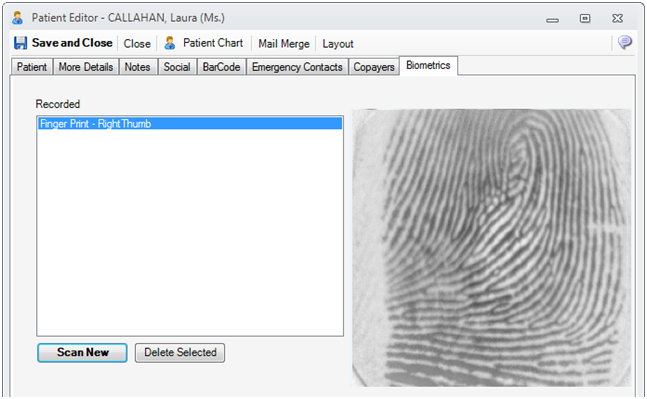
You can remove incomplete scans by pressing the Delete Selected button
To save the added fingerprints, press Save and Close in the main editor
Fingerprint Check
Once the fingerprint is recorded in the database, any patient identity can be checked against the finger print codes. The finger print check will be done from Patient Chart->More as bellow
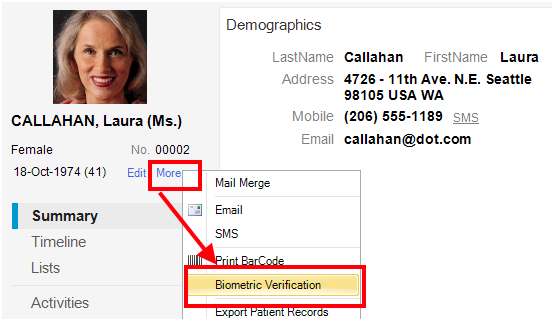
You will be prompted to apply the finger on the device, after which the result of the check will be displayed.
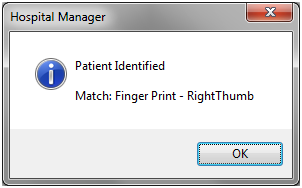
In case of match, something similar with bellow:
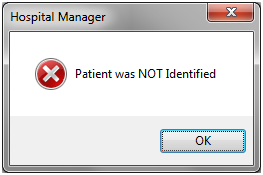
Or in case of match failure:
Biometric Permissions
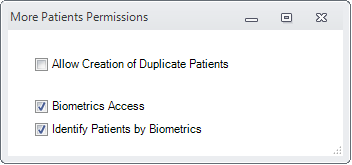
You can control which user groups can access the patients' biometric records from Administration->Permissions->More Patient Permissions
