Patient Barcode printing and scanning
Configure the Patient BarCode format
The barcode format can be customized in a similar manner as the Patient No custom format
Go to Administration->Settings in the main menu and press the Edit link as bellow:

In the opened window configure the format of the Patient Barcode format with the merge fields <<LastNameInitial>> and <<PatientNo>>, as in the example bellow:
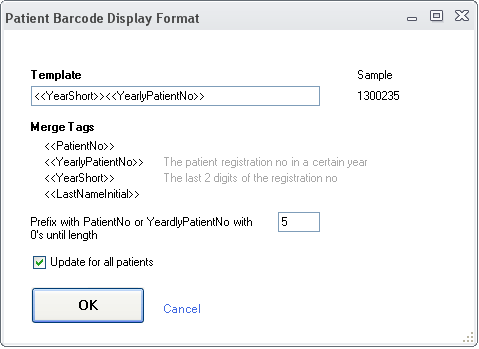
When done press OK
Printing BarCodes
You can print the Patient barcodes from the Patient Editor->BarCode tab as bellow:
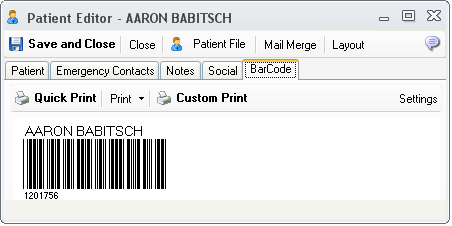
Or you can print from the Patient Chart->More->Print BarCode:
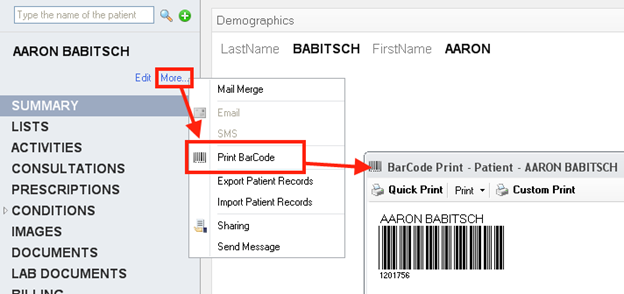
BarCode Print Window
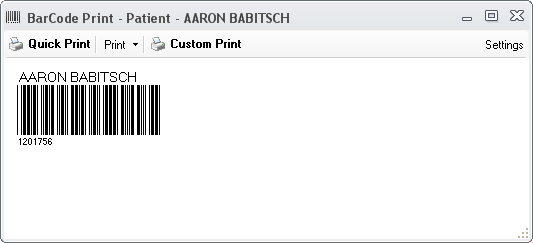
Quick Print or CTRL-P – prints directly the barcode, without printer selection
Print – prompts for Printer Selection and then prints the Barcode
Print Preview – displays a preview of the print
Export – saves the barcode as image
Custom Print – allows the printing of customized views of the barcode. More in the section bellow
Settings – allows the customization of the barcode, with parameters like size, display of Header and Footer and more. The Settings command is available only for administrators
How to use the Barcode Scanner
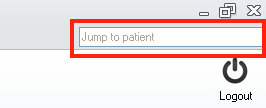
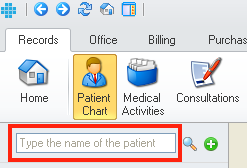
Position the cursor in the program in patient selection boxes like the ones in the images bellow, and then scan with your barcode scanner. Once the code is scanned, the program will jump to the scanned Patient.
