Installing MySQL in the network
Summary
The installation of the Database server has 2 steps:
1. Install MySQL Server
Download and install Patient Manager \ Hospital Manager on the computer that will store the data.
Click Tools -> Add New Database and virtually click Next on each step, except when selecting the Database Type. There you should select MySQL.
2. Connect the Workstations
Download and install Patient Manager \ Hospital Manager on each workstation.
To connect them to the created database, press Tools -> Search Network. In the opened window select the just created database and press OK.
For a detailed guide of these two steps, read bellow.
Install MySQL Server
On the server computer where you plan to store the data, download and install Patient Manager \ Hospital Manager
After installation, from the main menu press Tools -> Add New Database
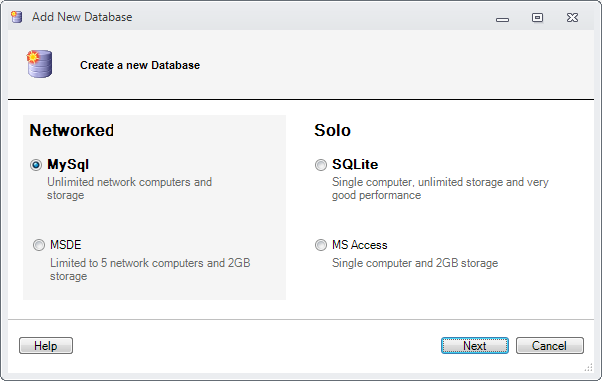
Select MySQL and press Start.
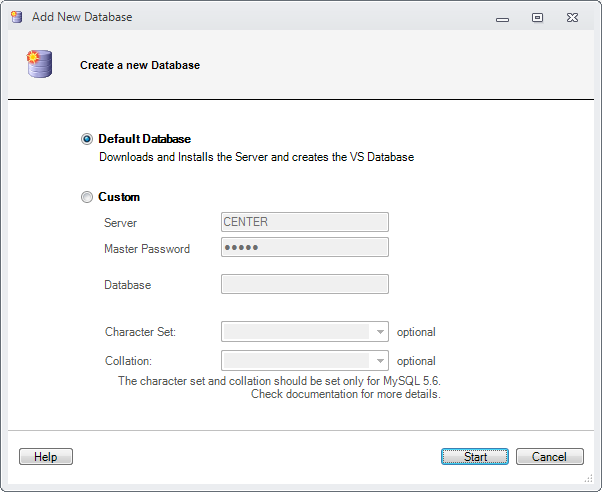
Next with Default Database checked, press Start
| If you already have MySQL server installed, choose the Custom option. Using the Default Database in this case may lead to loss of data in your existing MySQL |

Wait until the Database Installer program downloads.
After the download ends, the installation of Database Installer will begin. Click Next.
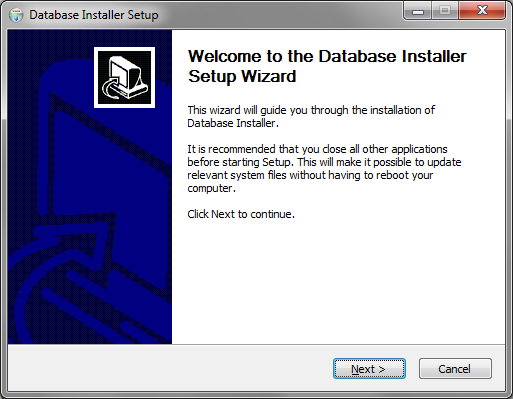
Click Next again,
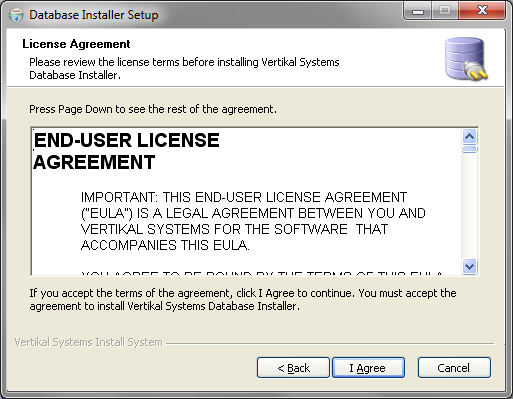
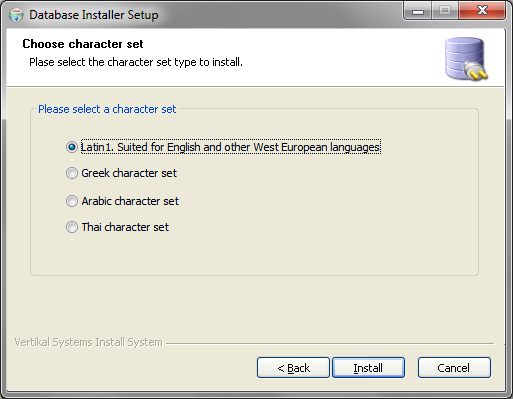
Then click Install. If your records or names will be in Greek, Arabic or Thai, choose the appropriate character set
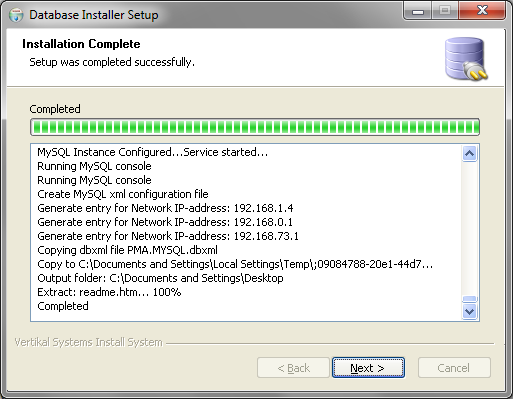
Click Next.
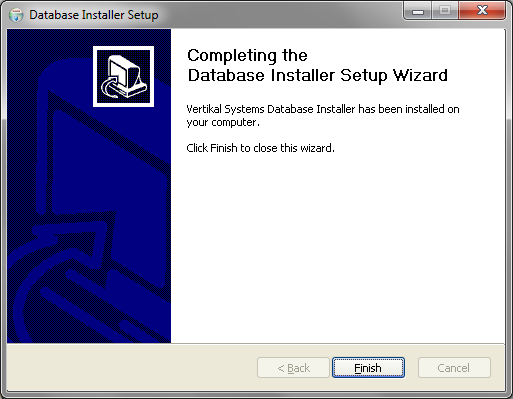
And then Finish.
Next, if you want your database to be populated with demo records press Yes, else press No.

Check both Publish and Restart check boxes and press Close.

The program will restart, connected to the newly created database that is accessible through the local network.
To connect the workstations to this database, read bellow.
Connect the workstations
On each workstation download and install Patient Manager \ Hospital Manager
From the program press Tools -> Open Database -> Search Network.
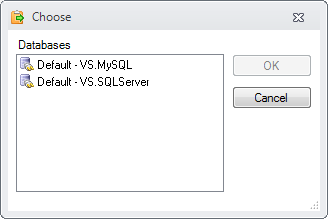
In the opened window, select the database previously created and press OK.
The program will restart and will connect to the selected database.
If your server database was not found by the Search Database, follow the steps:
- open the program on the server computer, and export the connection dbxml from Tools->Export dbxml
- copy the exported file onto your workstations
- open the program on your workstations and import the copied file from Tools->Import dbxml
If you cannot connect to the server, follow the troubleshooting steps.
Troubleshooting
Make sure that the workstation has network access to the server machine
Typically this can be checked by searching for the server machine in the work group computers.
The network access problem here can be caused by:
- hardware network problems
- firewall on the workstation
- firewall on the server
To eliminate the possible firewall problem, disable the firewall on both server and workstation temporarily, until you test the connection.
Contact the network administrator if necessary to make possible the connection between the workstation and server.
If the connection is still not working, proceed to the next step.
Make sure that the MySQL instance on the server is running
You can also check if the database server is running from Control Panel ->Administrative Tools ->Services->MySQL51 service
Related
Installing MySQL in the network