2. Tutorial - Images and Documents
| We recommend doing the tutorials on a demo database |
Summary
1. Add a new image to a patient
4. Print images
6. Attach images to patient records
1. Add a new image to a patient
Open a patient in Records->Patient Chart and select DOCUMENTS

Click on the Add Patient Document button on the tool bar
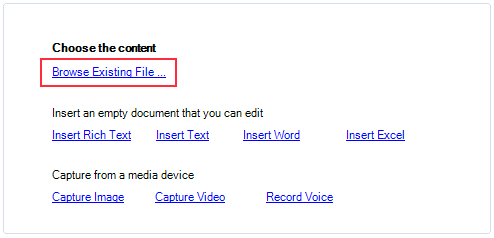
Next click the Browse Existing File link and select an image from you file system
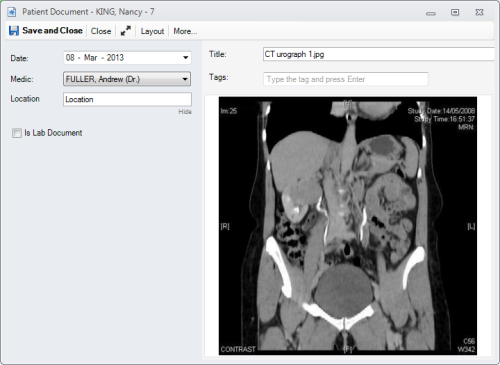
Click Save and Close to save to the database.
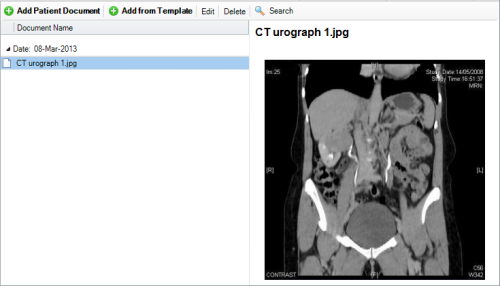
It should appear in the list. Select it view it's preview
Related - Patient Documents and Patient Images
Open a patient in Records->Patient Chart and select IMAGES

The opened view should have a list of thumbnails. Click on one to view it's preview
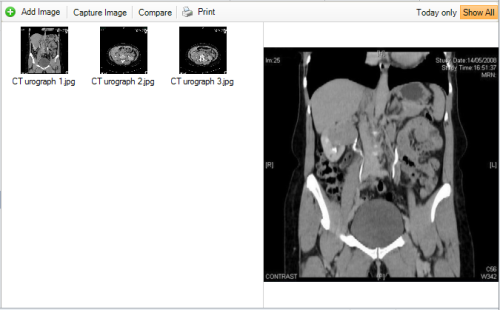
Double click on a thumbnail.
Left click on the image to Zoom In and right click to Zoom Out. Move the image inside the viewer by dragging it
Click Capture Image button on the tool bar
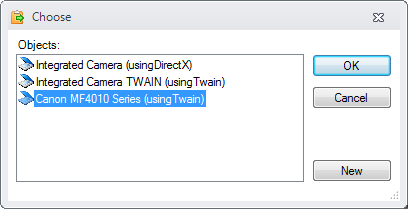
Select an available device and press OK
After the capture the Patient Document Editor will open. Click Save and Close to upload the image into the database
Related - Patient Documents and Patient Images
Select the images to print, by keeping CTRL pressed and clicking on the thumbnails
Click Print button on the tool bar
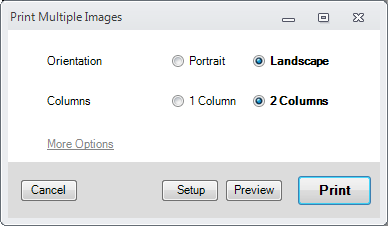
Next click Preview to preview the print layout, or Print to send to printer
Related - Patient Images
Select the images to compare, by keeping CTRL pressed and clicking on the thumbnails
Click the Compare button on the tool bar
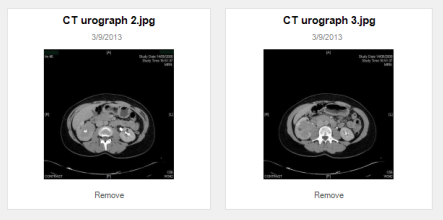
The selected images should display side by side
Left click on the image to Zoom In or right click to Zoom Out. Move the images inside their container by dragging them
Related - Patient Images
6. Attach images to patient records
Open a patient in Records->Patient Chart. Click CONSULTATIONS and open a consultation by double clicking it
In the opened editor click on DOCUMENTS in the left sidebar

Add a new image by clicking the Add Image or File button or the Capture Image button
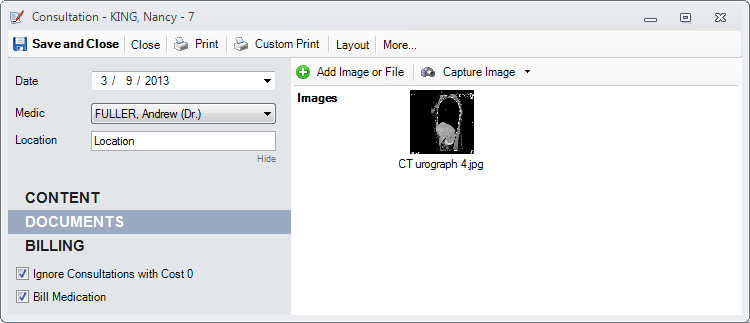
The image's thumbnail should appear in the right view.
Click Save and Close to save to database
The image was attached to the consultation and the consultation preview should like bellow
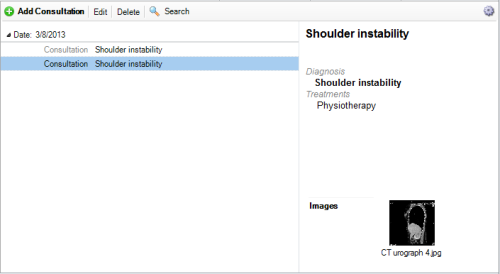
Related - Consultation Editor and Patient Images
Open a patient in Records->Patient Chart and select DOCUMENTS

Click on the Add Patient Document button on the tool bar
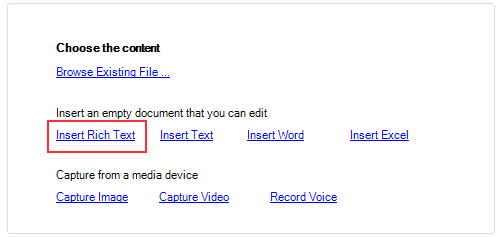
Next select Insert Rich Text
Enter you text in the content areas. Save and Close when done.
Related - Patient Documents
Open a patient in Records->Patient Chart and select DOCUMENTS
Next follow the steps in Using the Growth Chart template
Related - Patient Documents and Patient Document Templates